
External post workflow
Posts that you've written externally from INSURGE can be emailed out to members (and subscribers) just like with Patreon, and without including the actual content of the pieces.
First off, add in the title and feature image to a newly created post as you normally would. Be sure that when you copy/paste the title that there aren't spaces missing between words as this sometimes occurs when copying titles from sites such as Byline Times. Likewise, make sure to grab the original-sized image. You presumably have direct access to the original images, although if you want to grab them directly from the front-facing website make sure to remove the extraneous material – don't, for instance, grab G0K09D-1536x1024.jpg from this image from this post, but first remove the -1536x1024 portion so that you end up with G0K09D.jpg so that you have the full-res image. Download that to your computer, then add it to the post as you normally would.
Likewise, copy and paste over the Excerpt from the original article (if there is one) as well as write the message you want to appear in the email to subscribers/members in the body area of the post where the content would normally appear (no Email card required).
In the Tags section of the Post settings side-panel add in the tags #external and then the tag title of the publication (in that order) – such as Byline Times.

(Note: the hash in the front of a tag, such as #external, means it's an internal tag and will not be displayed in the listing of tags to readers at the bottom of a post, thus meant strictly for catered theme usages.)
Next, remove your default name from the author field and select Nafeez Ahmed (non-INSURGE) as the author.
Following that, click on Meta data –
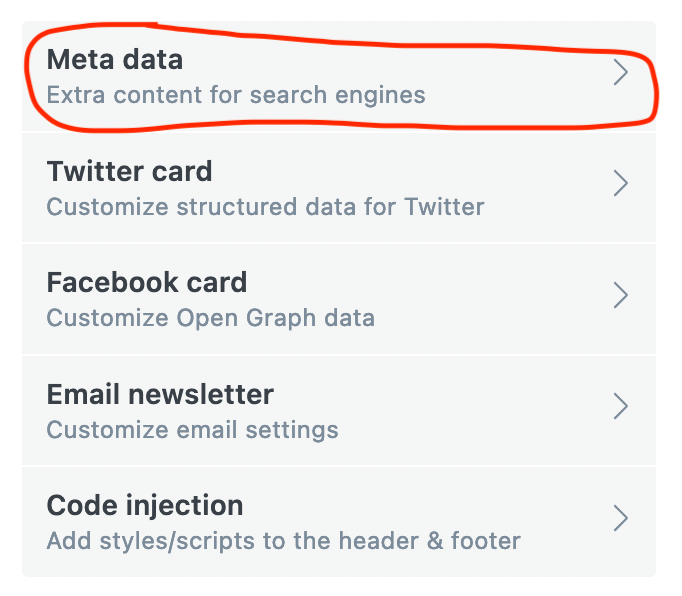
– and then under Canonical URL add in the URL of the external post.

Adding in the #external tag and using Nafeez Ahmed (non-INSURGE) as the author will remove the post from the regular feed, place it in the footer, and make it so that when readers click on the title in the email that they're redirected to the site of the original article (specified in the Canonical URL). You must do both of the aforementioned in order to make things work properly.
Adding tier functionality to a post
Although I'll leave thorough understanding of how to set up various tiers within the Settings --> Membership section to you, I will however explain a tiny bit about how to add tier functionality to a post and how it's been made to appear in INSURGE.
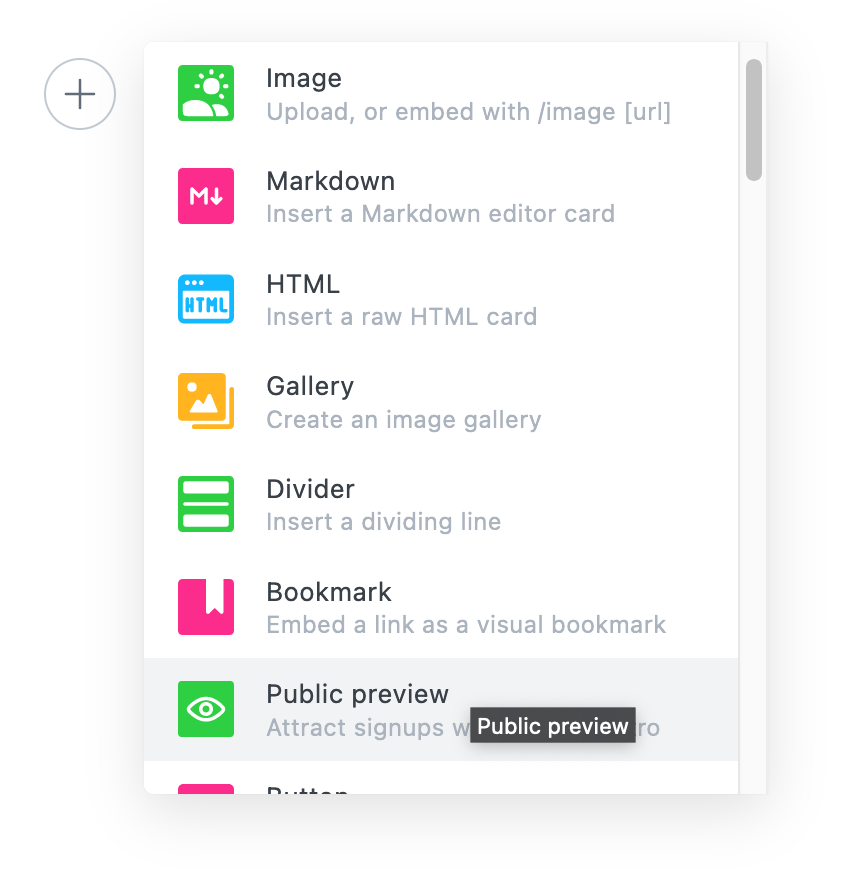
First off, select the portion of the post which you want to appear as preview material to the public. At that point, open up the display menu and add in a Public preview divider.
You'll see, for example, something like the following in the editor:
Next, open up the Page settings side-panel, and in the Post access section change the selection from Public to Specific tier(s). Having done that, choose the tier(s) you want to apply to the post.

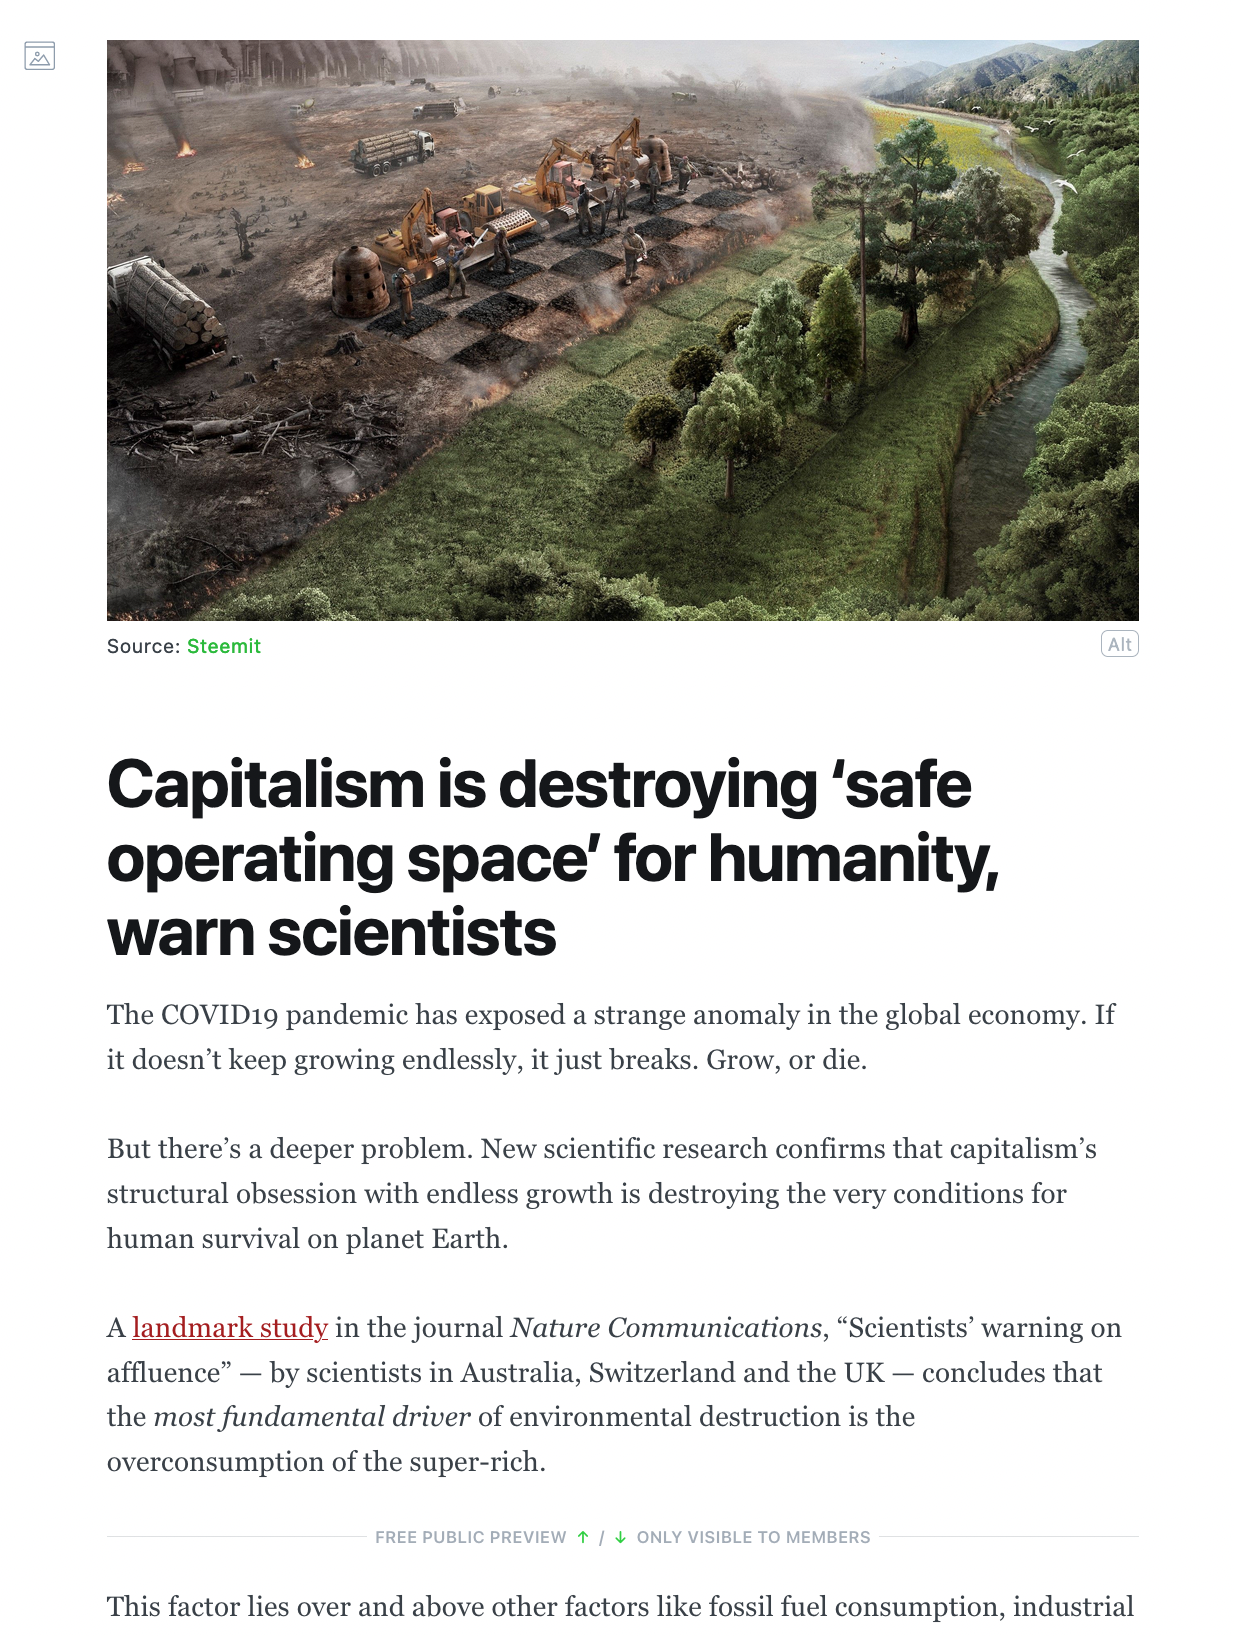
When you publish the post, on the home page you'll see a red box designating the post as specific to the tiers you've chosen.
People who are non-subscribers and will see the following within the post:
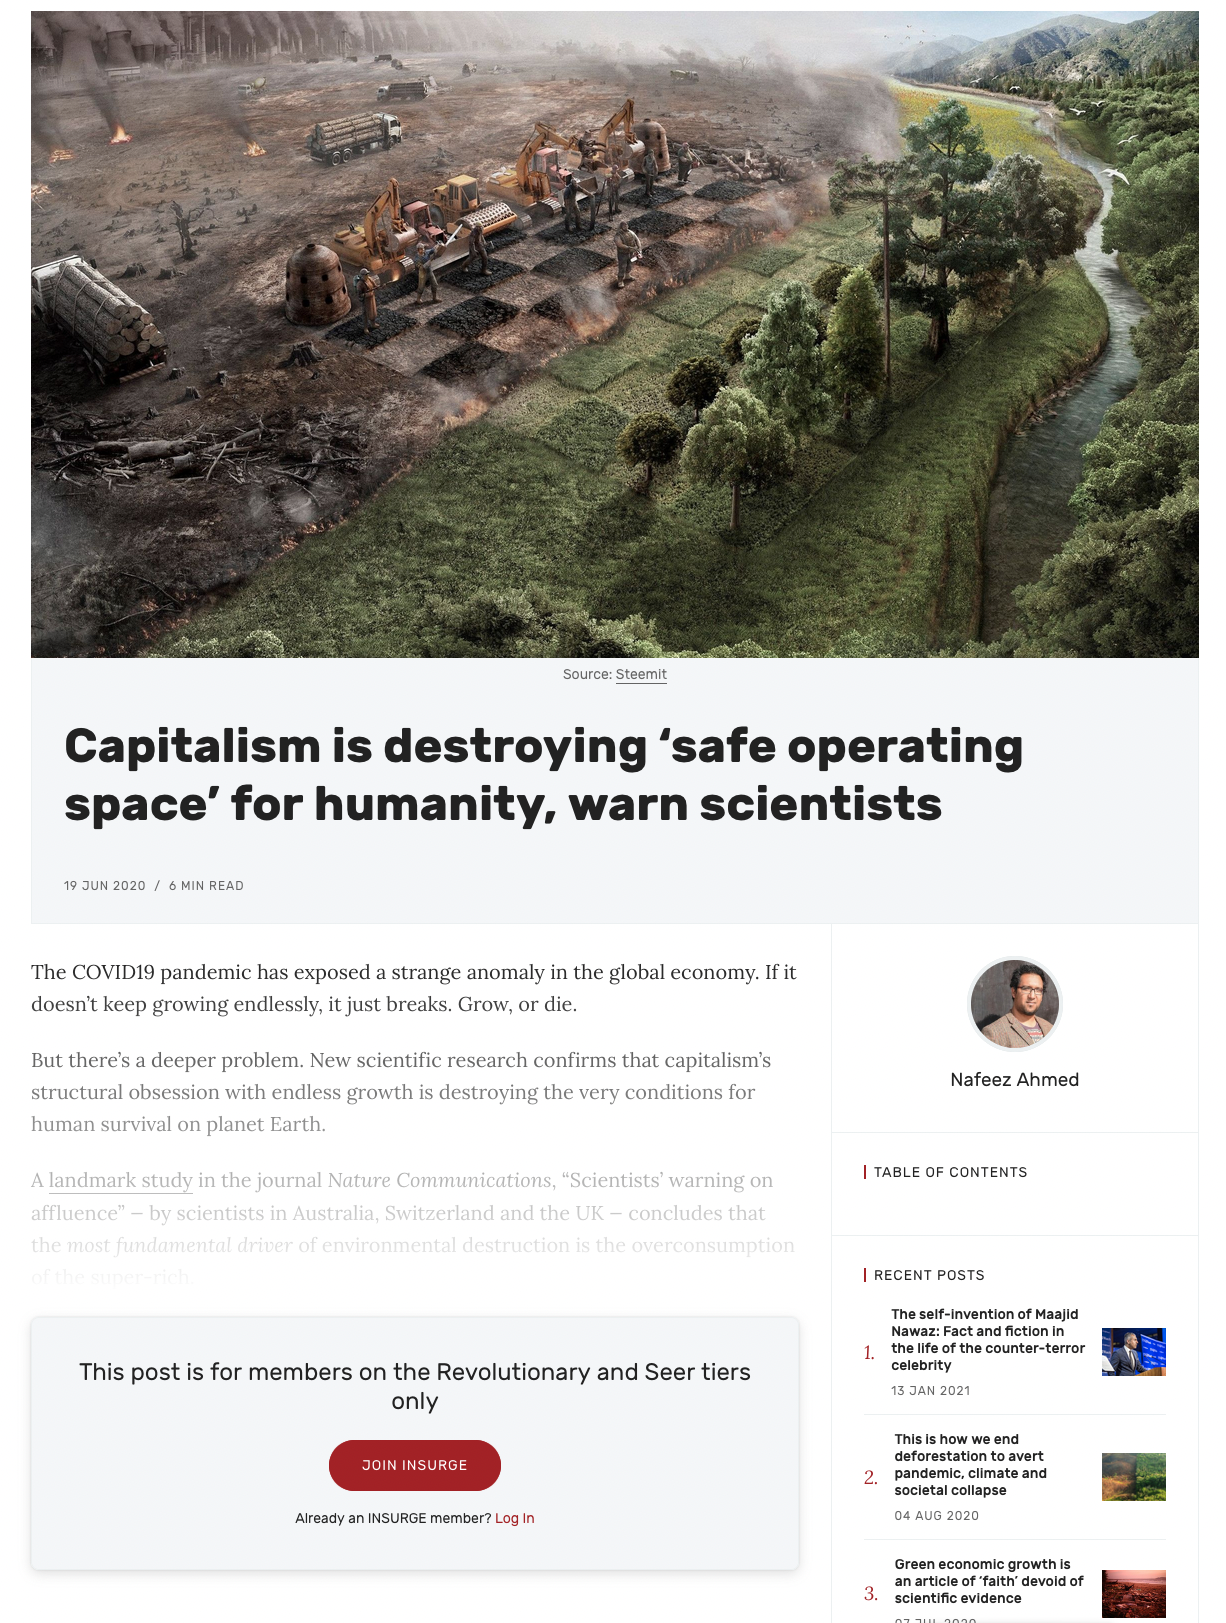
Clicking on the JOIN INSURGE button will of course take the reader to the signup page. If they are a subscriber to the email list or on a lower tier, instead of "JOIN INSURGE" in the button they will see "UPGRADE YOUR ACCOUNT".
Actions, axioms, insights, boxes, forewords, afterwords and amendments
When you want to specify a piece of text as an axiom, an insight, etc., you need to wrap said text with HTML snippets. Snippets have been created for every kind of highlighting box you've used on Medium, and although they all similarly appear as text in grey boxes it's important to select the proper snippet for each highlighted piece. Reason being, supposing that in the future you wanted to switch all insight highlights to, say, green instead of grey it would require nothing more than a single line of code which would adjust all insight highlights ever created.
So to create one of these highlights, write your desired text and leave a blank line above and below the text. In the blank line above, click the + button to open up the dynamic menu.

From there, scroll down past the Primary and Embed sections to the Snippets section. In this case, scroll down to the bottom and select the Insight snippet.
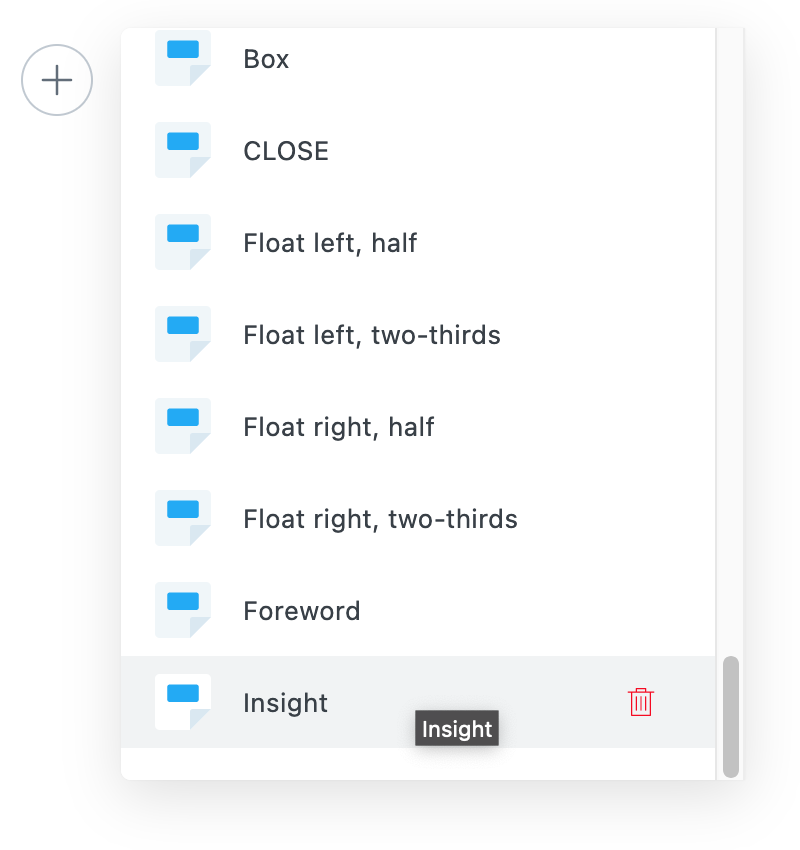
This will add in an HTML card above the highlight.
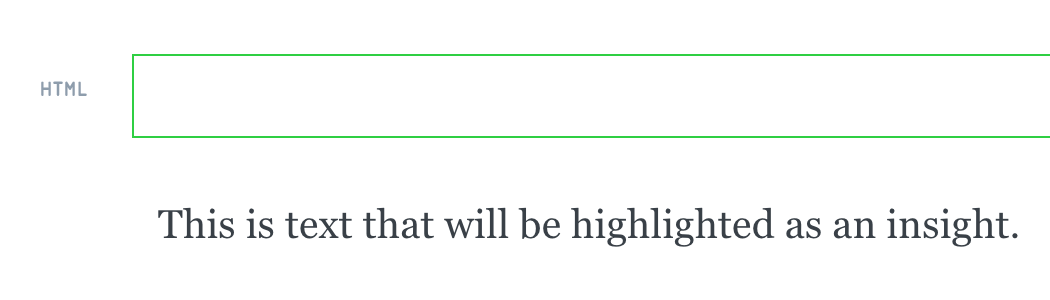
In the blank line after the desired highlight open up the dynamic menu again and select the CLOSE snippet. This will signify the end of the highlight, and must be added to any highlight you want to create – an axiom, an insight, etc. If you're about to publish a post and things in the preview are looking screwy it may be because you didn't close one of the highlights with a CLOSE snippet.
If you're curious, this is what the coding with the Insight and CLOSE HTML snippets look like.
<span class="insight"></span>There are snippets created for Actions, Axioms, Insights, Boxes, Forewords, Afterwords and Amendments, the Boxes snippet being for those instances when you've created a box inside a post which has no specific category.
Last of all, you can use any text you want within highlights as you normally would – bold, italics, blockquotes, etc.
Floating images
If you'd like to float images to either the left or the right it's a similar process to creating an Insight highlight or what have you. First off, add an image to the editor as you normally would, but with blank lines above and below it. In the blank line below you'll add in a CLOSE snippet, while above you'll choose between a) Float left, half, b) Float left, two-thirds, c) Float right, half and d) Float right, two-thirds. When images are really small you'll want to use one of the half size snippets, when they're a bit larger you'll want to use one of the two-thirds size snippets, the latter appearing as full-size images on mobiles and tablets but at two-thirds the width of the screen on laptops and desktops.
Table of contents
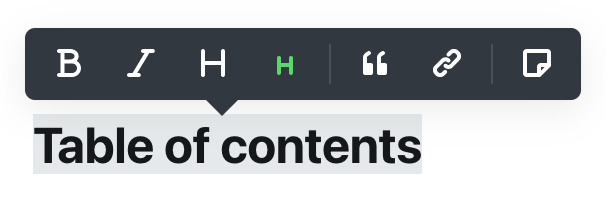
Table of contents functionality automatically takes advantage of headings used within posts. Ghost allows for H2 headings and the smaller H3 (sub)headings, selectable from the contextual toolbar that appears when you highlight a piece of text. "Table of contents", as seen just above, is a smaller H3 heading.
Seeing how most of INSURGE's posts use headings, the default is set up to automatically create the Table of contents widget in the side-panel. If there are no headings in a post then the internal tag #no-ToC must be added to the post in order to remove the Table of Contents widget.
Posts that do not have a Table of contents will have the side-panel stick to the bottom when scrolling down and then stick to the top when scrolling back up (see this post as an example), while posts with a Table of contents will see the side-panel stick to the top when scrolling up or down, until the end of the post is reached, at which point the footer moves in (see this post as an example, which also uses sub-headings which open and close as each parent heading section is passed through).
Portrait-oriented feature images
If you ever create a post in which its feature image is portrait-oriented then be sure to add in the internal tag #portrait-feature-image so that the image doesn't get displayed very tall. With that tag it'll instead be shrunken down with sections of grey added to its left and right (as in this post).
Footnotes
Suffice to say, adding footnotes to a post is fancy and all (see this post as an example, and click on any of the red "buttons" to see what happens), but as it's not an automated function it requires creating HTML cards for paragraphs that have a footnote and then including an iteration of the following within that HTML card.
<sup id="fnref:1"><a href="#fn:1" rel="footnote">1</a></sup>Following that, at the bottom of the post something like the following must be included, a set of <li></li>s added for each footnote.
<div class="footnotes">
    <ol>
    	<li class="footnote" id="fn:1">
        	<p><a href="#fnref:1" title="return to article"> ↩</a><p>
    	</li>
    </ol>
</div>
I imagine you aren't going to bother with this tedious process yourself, so rather than elaborate here how to undertake it all I'll simply leave the above in case you have somebody who one day does want to bother. Otherwise, yes, one will have to include the internal #bigfoot tag ("Bigfoot" being the name of the script) in order to make the functionality work.